I’ve always loved flying and building aircraft. Building a custom fixed-wing drone has been a dream of mine. Today, I’m excited to share how you can build your own hobby fixed wing drone frame.
In this article, we’ll dive into the world of fixed-wing drones. We’ll look at their benefits and what you need to build one. This guide is for everyone, whether you’re new to RC flying or have lots of experience. It will help you design and build your own hobby fixed wing drone frame.
Key Takeaways
- Discover the advantages of fixed-wing drones compared to traditional quadcopters
- Learn about the essential components needed to build your own hobby fixed wing drone frame
- Understand the design and assembly process, from cutting and shaping the airframe to installing the electronics
- Explore advanced customization options to enhance the performance and capabilities of your DIY drone
- Gain insights into safety considerations and regulations for flying your homemade fixed-wing aircraft
Introduction to Fixed Wing Drones
Drone technology is getting better all the time. A special kind of drone, the fixed wing drone, is getting a lot of attention. It has a fixed wing that helps it stay in the air for a long time. This design offers many benefits.
What is a Fixed Wing Drone?
A fixed wing drone looks like a small airplane. It uses its fixed wings to lift off the ground, just like real planes. This is different from multi-rotor drones, which use many propellers to fly.
Benefits of Fixed Wing Drones
Fixed wing drones have some big advantages:
- Longer Flight Times: They can fly for hours, much longer than multi-rotor drones.
- Greater Range: Their design lets them cover more ground and travel far, perfect for big jobs.
- Improved Aerodynamics: They are more efficient and use less power, which means they can fly longer.
- Suitability for Aerial Photography: They fly smoothly, making them great for taking photos and videos from the air.
These benefits make fixed wing drones popular in many fields. They are used in agriculture, construction, environmental monitoring, and even search and rescue.
| Drone Type | Price Range | Flight Time |
|---|---|---|
| Professional Multi-Rotor | $25,000 – $120,000 | 20-30 minutes |
| Professional Single-Rotor | $25,000 – $300,000 | Up to 16 hours |
| Small Drones (e.g. Black Hornet) | N/A | Up to 25 minutes |
| Tactical Drones | N/A | N/A |
| Reconnaissance Drones | N/A | Up to 52 hours |
The drone world is changing fast. Fixed wing drones are becoming more important. They are great for many tasks, like taking pictures from the air and surveying big areas.
Planning Your DIY Hobby Fixed Wing Drone Project
Starting a DIY drone project needs careful planning. You must know what you need and want. This ensures your hobby drone does what you want and is safe to fly. Think about its use, how long it will fly, what it can carry, and its size. These things help pick the best airframe design.
Determining Your Needs and Requirements
First, decide why you’re making your DIY drone. Is it for taking pictures from the air, exploring far places, or racing? Your reason will shape what your drone needs to do. Also, think about how long it will fly, what it can carry, and its size. This way, your custom drone will match your needs perfectly.
Choosing the Right Airframe Design
Now, pick the right airframe design for your hobby drone. You might choose a classic wing shape, a V-tail, or even a tilt-rotor design. Each design has its own strengths and benefits. Do your homework to find the best one for your UAV requirements.
By planning well and knowing what you need, you’re ready to build a DIY drone. It will meet your flying goals and needs.
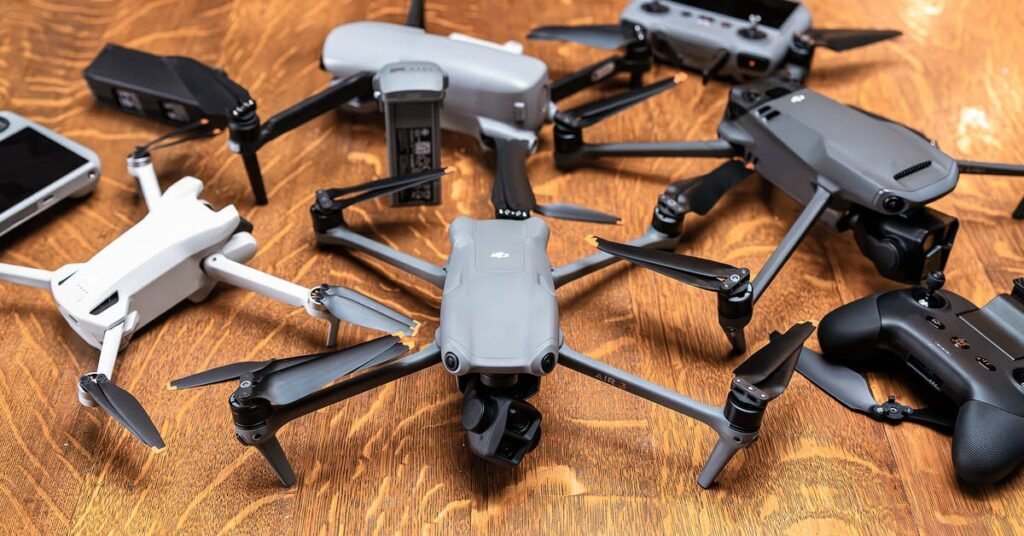
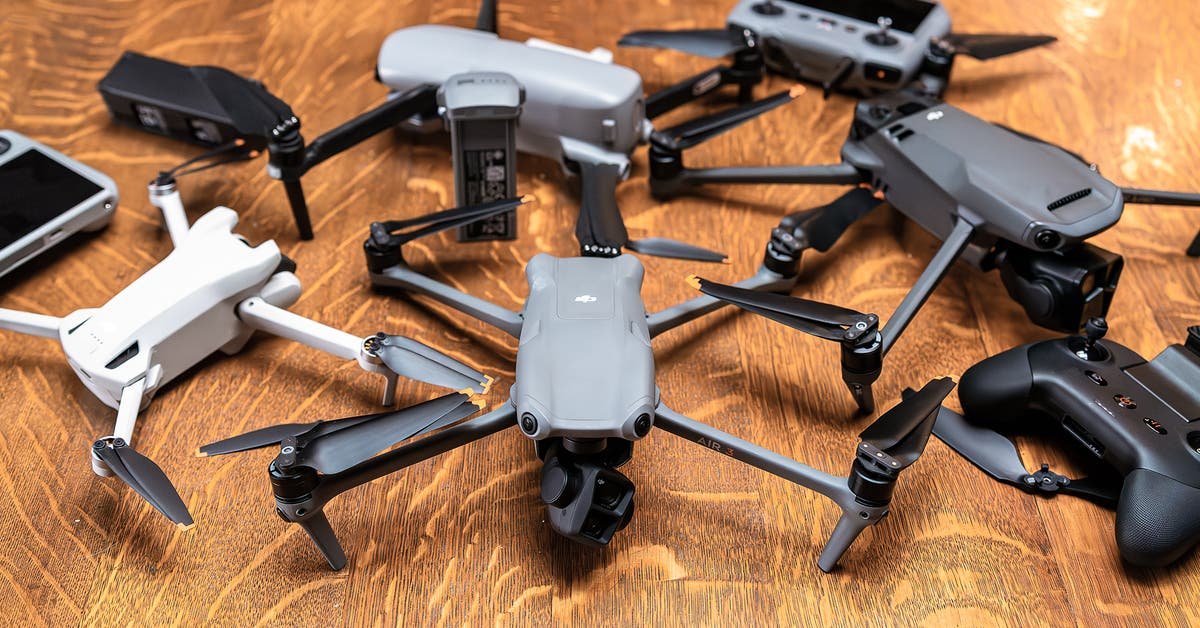
Essential Components for Building a Fixed Wing Drone
To make a hobby fixed wing drone, you need to put together several important parts. These parts are the drone frame, flight controller, motors, propellers, power system, and remote control.
The frame is the drone’s body and shape. It helps the drone fly smoothly. You can make frames from materials like balsa wood, foam, or carbon fiber. Each material has its own benefits.
The flight controller is the drone’s brain. It controls the motors and other parts to keep the drone stable. A good flight controller has features like GPS and programmable modes.
- Strong and efficient motors are needed for the drone to move. Brushless DC motors are a top choice because they are powerful and light.
- The right propellers are also key. They turn the motor’s power into lift and thrust. The size, pitch, and material of the propellers affect how well the drone flies.
The power system includes the battery and ESCs. They control the power to the motors. Choosing the right battery is important for how long the drone can fly.
The remote control lets you control the drone. It has features like telemetry and failsafe functions. These make flying safer and more fun.
| Component | Purpose | Key Considerations |
|---|---|---|
| Frame | Provides the structure and aerodynamic shape | Material (balsa, foam, carbon fiber), weight, durability |
| Flight Controller | Manages flight, motors, and electronics | Functionality, programming, compatibility |
| Motors | Generate the thrust for flight | Power output, efficiency, weight |
| Propellers | Convert motor power into lift and thrust | Size, pitch, material |
| Power System | Provide power to the drone | Battery capacity, discharge rate, ESC compatibility |
| Remote Control | Allow pilot to control the drone | Range, features, compatibility |
By picking and putting together these parts carefully, you can make a fixed wing drone that fits your needs and flying style.
Selecting the Right Materials and Tools
Building a DIY fixed-wing drone needs the right materials and tools. The airframe is key to the drone’s performance and strength. Carbon fiber, foam, and 3D printed parts are great because they are light yet strong. They help make a drone that can handle flight well.
Having the right tools is also crucial. You’ll need tools for cutting, adhesives, and parts to hold things together. Good tools make building easier and ensure your drone is top-notch.
3D printing has changed the DIY drone world. It lets you make custom parts and airframes. This way, you can try new designs and use different materials, making your drone unique.
“Carefully selecting the right materials and tools is the foundation for building a successful DIY fixed-wing drone.”
Airframe Materials
Choosing the right airframe material is important. Here are some good options:
- Carbon Fiber Reinforced Filament: It’s strong and light, making it a top choice.
- Nylon: It’s strong and flexible, a good mix for the airframe.
- Polycarbonate: It’s strong, flexible, and good at handling impacts.
- PETG: It’s strong and flexible, great for building the airframe.
- ABS: It’s not as strong but still good for its strength, flexibility, and impact resistance.
Tools and Supplies
To make your DIY drone, you’ll need various tools and supplies. Here’s what you’ll need:
- Cutting tools: Scissors, knives, or rotary cutters for shaping parts.
- Adhesives: Strong glues like epoxy or CA for bonding parts.
- Assembly hardware: Screws, nuts, and washers to hold things together.
- Measuring tools: Rulers, calipers, and protractors for accurate measurements.
- Power tools (optional): Drills, saws, or sanders to speed up assembly.
Choosing the right materials and tools is key to building a great DIY drone. This focus on detail will help you build your drone smoothly and successfully.
Step-by-Step Guide to Building the Airframe
Building a strong airframe is key for a good DIY fixed-wing drone. You need to cut and shape the wings, fuselage, and tail. Then, you assemble them together. You might use 3D printing, foam cutting, or carbon fiber.
It’s important to follow a detailed guide. This ensures your airframe is well-built and balanced. It will fly just right.
Cutting and Shaping the Components
The first step is to cut and shape the drone’s parts. You’ll use tools like a box cutter and hot glue gun. Materials like balsa wood or foam are common.
Being precise and careful is crucial. This ensures everything fits well and flies smoothly.
Assembling the Airframe
After preparing the parts, it’s time to assemble the airframe. You might glue or use 3D printing. Strong adhesives like hot glue are important for a sturdy airframe.
Think about how the airframe looks and flies. It should be both strong and look good.
| Package | Cost | Included Components |
|---|---|---|
| Premium Package | $180 |
|
| Money-saver Package | $85 |
|
Building a drone airframe is rewarding and affordable. With a good guide and careful work, you can make a strong and flying DIY construction. It will meet your needs and fly well.
Installing the Electronics and Control System

After building your DIY hobby fixed wing drone’s airframe, it’s time to add the electronics. You need to wire and program the drone’s parts right. This ensures your drone flies smoothly and safely.
Wiring the Components
Start by wiring the motors, servos, and other parts to the flight controller. Connect the motor and servo cables to the flight controller’s ports. Make sure the wiring is tidy and safe from shorts or interference.
- Connect the motor leads to the motor output ports on the flight controller.
- Attach the servo cables to the servo output ports on the flight controller.
- Route and secure the wiring neatly within the airframe to maintain a clean and organized layout.
- Double-check all connections for proper polarity and secure seating.
Programming the Flight Controller
Once wired, program the flight controller for drone control. This means setting up the transmitter, calibrating sensors, and adjusting flight settings.
- Connect the flight controller to your computer using the appropriate USB cable.
- Install the necessary software and firmware on your computer to communicate with the flight controller.
- Follow the manufacturer’s instructions to configure the control surfaces, such as ailerons, elevator, and rudder.
- Calibrate the sensors, including the accelerometer, gyroscope, and magnetometer, to ensure accurate flight data.
- Adjust the flight parameters, such as PID gains and control response, to achieve the desired flight characteristics.
By wiring and programming your drone’s electronics well, you’re ready for stable flight. Take your time on these steps. They’re key to your drone’s performance and safety.
Testing and Troubleshooting Your DIY Fixed Wing Drone
Building your own fixed-wing drone is exciting. But the real test is when you fly it for the first time. Before you fly, make sure to test and fix your drone. This ensures a safe and successful flight.
Ground Testing and Flight Tuning
First, do lots of ground tests. Check if all parts work right. This includes the servos, motors, and how the flight controller talks to your remote.
Do flight tuning to make your drone fly better.
Troubleshooting Common Issues
When you test, you might find problems. These can be motor or ESC failures, or if the drone flies weird. Use online forums and guides to fix these issues fast.
Safety Checks and Pre-Flight Inspections
Before flying, do a full check-up. Look for damage, make sure everything is tight, and test the controls. Safety is most important when flying your drone.
By testing and fixing your drone well, you’ll be ready for its first flight. Remember, being patient and careful is key to flying your drone right.
“The devil is in the details when it comes to drone testing and troubleshooting. Paying close attention to every component and system will ensure a safe and successful flight.”
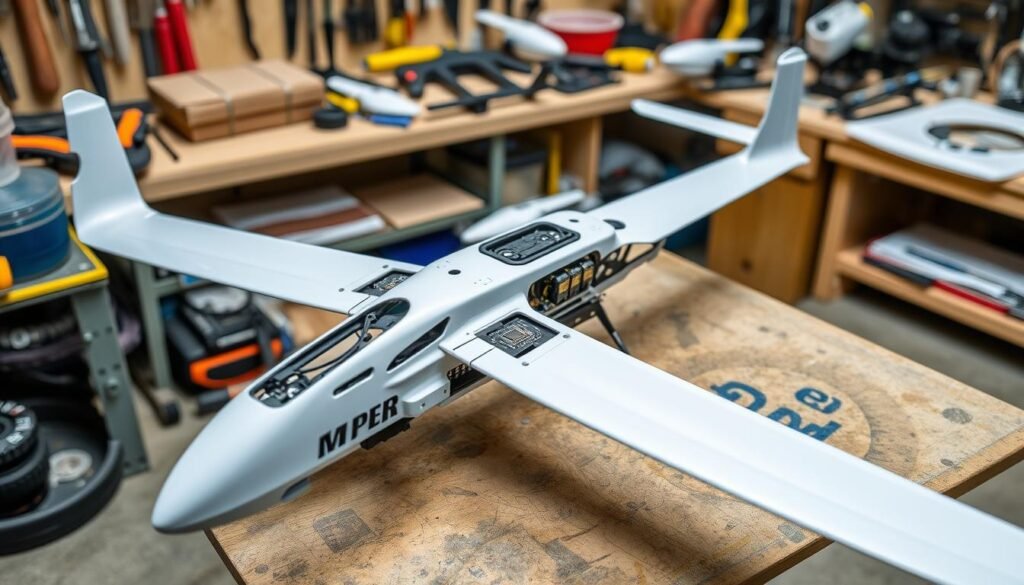
hobby fixed wing drone frame
The hobby fixed wing drone frame is key to your custom drone project. It shapes the drone’s flight. Choosing and building the airframe is crucial for your drone’s needs and your preferences.
Whether you’re new or experienced, the right fixed wing drone frame opens up new possibilities. There are many options, from hobby drone frames to DIY designs. You can make your drone exactly how you want it.
Fixed wing drones have many benefits. They are aerodynamic, fly far, and fast. They’re great for many uses, like farming, mining, and protecting the environment.
| Specification | Value |
|---|---|
| Wingspan | 2.5m |
| Frame Weight (without battery) | 2.68kg |
| Total Weight (without battery) | 5.5kg |
| Maximum Take-off Weight | 12kg |
| Maximum Payload Capacity (with battery) | 6.5kg |
| Maximum Flight Time | 2.5 hours |
| Maximum Speed | 100km/h |
The hobby drone frame is made of strong carbon fiber. It’s light and durable for your DIY drone. It has a 2.5m wingspan and weighs 5.5kg without the battery.
Looking to build a custom drone airframe or try DIY drone designs? The hobby fixed wing drone frame is a great start. By picking the right parts and following a guide, you can make a drone that fits your needs.
“The fixed wing drone frame has been a game-changer for my aerial photography business. The efficient aerodynamics and impressive speed have allowed me to capture stunning footage with ease.”
Safety Considerations for Flying Your DIY Drone

Before you fly your DIY drone for the first time, safety is key. You need to know the drone safety rules in your area. Also, do a full check before flying to make sure everything works right.
Regulations and Rules
If your drone weighs between 0.55 pounds and 55 pounds, you must register it with the FAA. You also need to fly it where you can see it, as the rules say.
Remember, you can’t mix fun flying with work flying in one trip. Also, you need FAA permission to fly in certain areas.
Pre-Flight Checks
- Look over your drone for any damage before you fly.
- Make sure everything, like the body and parts, is okay.
- Check the battery to see if it’s charged enough for your flight.
- Make sure the control system works right.
- Do a test to see if you can control the drone where you plan to fly.
- Check the weather to make sure it’s safe to fly.
By focusing on safety and following the rules, you can have fun flying your DIY drone.
Advanced Customizations and Modifications
I love DIY fixed-wing drones and exploring customizations. These changes can add new features and make your drone special.
Adding Cameras and Sensors
Adding cameras and sensors is a top choice for customizing. High-quality cameras let you take amazing aerial photos. You can also add sensors for better performance and design.
Imagine flying with a first-person view (FPV) or using sensors for aerodynamic design and performance upgrades.
Improving Aerodynamics and Performance
Improving your drone’s aerodynamic design and performance is exciting. You can make it fly longer, faster, and better. Choose the right materials and systems for big improvements.
“The key to unlocking the full potential of your DIY fixed-wing drone lies in the willingness to explore advanced customizations and modifications.”
Customizing your drone can help you capture stunning photos or improve its performance. With careful planning, your drone can become a unique masterpiece.
Conclusion
Building your own DIY hobby fixed wing drone is very rewarding and exciting. This guide helps you design and build a custom drone that fits your needs. It’s perfect for those who love aerial photography, long-distance flights, or just building drones.
As you build, you’ll learn about fixed wing drone tech and its parts. You’ll get better at designing, installing electronics, and testing flights. You’ll also find lots of help online and in local drone clubs.
Remember to stay safe and follow local rules when building your drone. With the right attitude, you can make a unique and powerful drone. So, start your DIY drone building adventure and see how far you can go!